How to Install Outdoor Porcelain Paving — Expert Guide (2026)
Title: How to Install Outdoor Porcelain Paving | Natural Paving Store Expert Guide
Description: Learn how to install outdoor porcelain paving patios correctly. Natural Paving Store explains sub-base prep, mortar bedding, priming, grouting, and why we recommend Natural Paving Installation for professional fitting.
Introduction
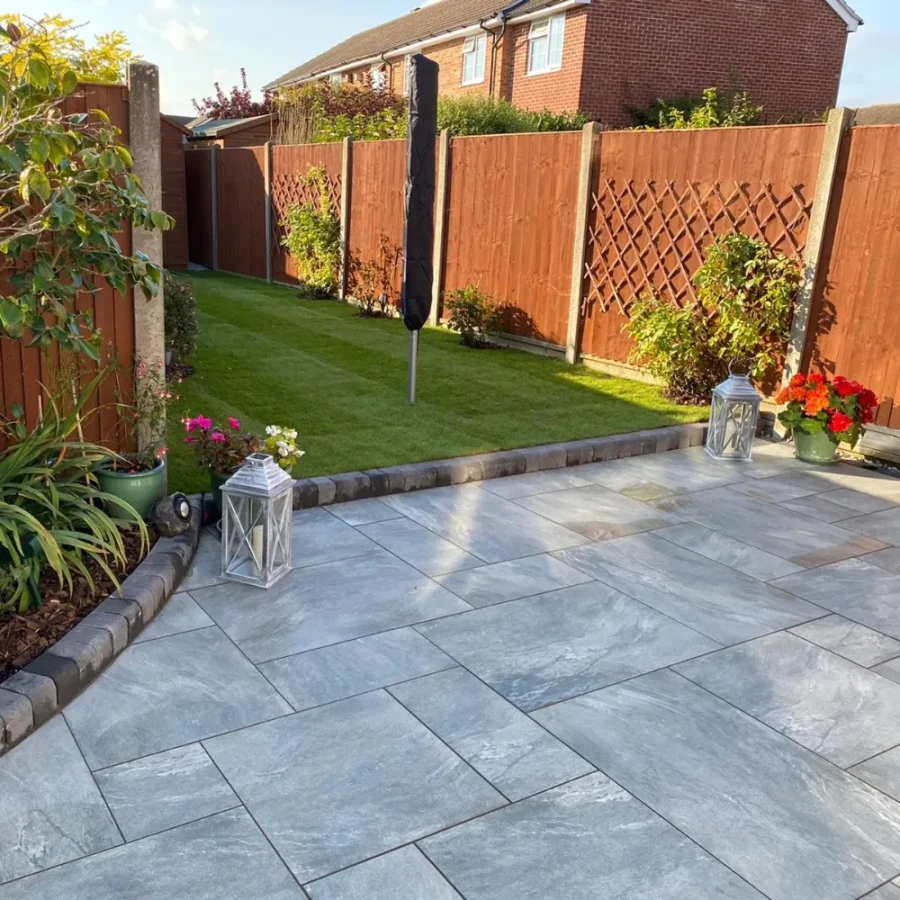
Outdoor porcelain paving is the ideal choice for modern patios, terraces, and garden areas. Its sleek appearance, low maintenance, frost resistance, and non-porous surface make it perfect for UK gardens.
However, installing porcelain paving requires more care than traditional stone or concrete slabs. Its dense, vitrified structure means standard dry sand or spot bedding will fail over time.
In this guide, Natural Paving Store explains step-by-step how to install outdoor porcelain paving and why we recommend Natural Paving Installation, our trusted installation partner, for professional results.
Why Porcelain Paving Needs a Professional Installation Approach
Porcelain paving slabs are:
- Dense and non-porous
- Dimensionally precise
- Resistant to frost and staining
Key requirements for a durable patio:
- Correct sub-base preparation
- Full mortar or adhesive bedding
- Primer application on the underside of slabs
- Resin or slurry grout for joints
DIY errors such as skipping primer or using sand bedding can result in rocking slabs, frost damage, or uneven surfaces. This is why Natural Paving Installation is recommended for guaranteed professional results.
Step 1: Prepare the Site & Sub-Base
A properly prepared sub-base ensures longevity and prevents movement.
Sub-base specification:
- 100–150mm Type 1 MOT hardcore
- Compacted in 50mm layers
- Levelled and sloped away from buildings (1:80–1:60)
Tip: Use a spirit level and string lines to maintain even fall and avoid puddles.
Keywords for SEO: “sub-base for outdoor porcelain paving,” “compacted hardcore patio base,” “preparing ground for porcelain tiles.”
Step 2: Bedding & Adhesive
Porcelain cannot be spot-bedded or laid on dry sand. The correct approach is:
- Full mortar bed (20–30mm) or specialist external adhesive
- Full contact under the entire slab
- Avoid air voids to prevent cracking or frost damage
SEO Tip: Include “full-bed mortar for porcelain paving” and “adhesive for outdoor porcelain tiles.”
Step 3: Primer for Porcelain Slabs
Because porcelain is non-porous, slabs require a primer on the underside before laying:
- Ensures a chemical bond with mortar
- Reduces movement and “drumming”
- Essential for frost and weather resistance
Keywords: “primer for porcelain paving,” “preparing porcelain tiles for outdoor installation.”
Step 4: Laying the Slabs
- Lay slabs with 3–5mm joint spacing
- Tap gently with a rubber mallet to achieve full contact
- Continuously check levels and slope
Keywords: “laying porcelain patio slabs,” “spacing and leveling porcelain tiles outdoors.”
Step 5: Grouting Porcelain Paving
Porcelain joints should be grouted using resin or slurry grout designed for outdoor use.
Benefits:
- UV and weather-resistant
- Low maintenance and prevents weed growth
- Maintains structural integrity of patio
SEO Keywords: “grout for outdoor porcelain paving,” “resin grout patio joints.”
Step 6: Cleaning & Optional Sealing
- Porcelain is naturally stain-resistant
- Seal grout in high-use areas (optional)
- Clean with pH-neutral cleaners recommended for porcelain
Keywords: “cleaning and sealing outdoor porcelain paving,” “maintaining porcelain patio.”
Common Mistakes to Avoid
- Spot bedding or using dry sand
- Skipping primer
- Poor slope or drainage
- Using incorrect grout
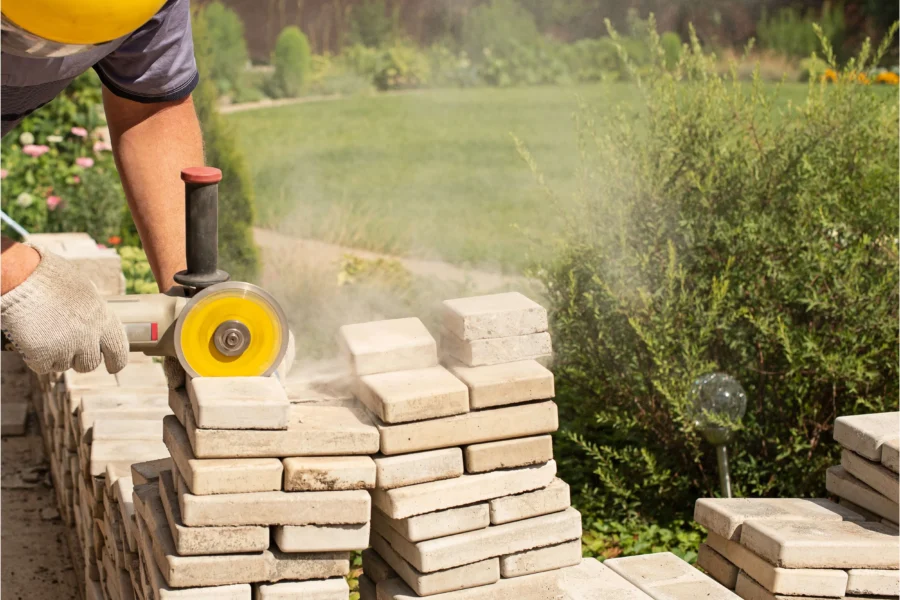
- Rushing cutting or placement
Tip: Avoiding these ensures your patio lasts for decades.
Why Professional Installation Matters
While DIY is possible for small areas, professional installation by Natural Paving Installation ensures:
- Proper sub-base compaction
- Correct primer and full-bed mortar application
- Accurate level and joint spacing
- Minimal breakage
- Expert cutting and placement
CTA:
Book your porcelain patio installation with Natural Paving Installation today for a flawless, long-lasting patio.
FAQ — Outdoor Porcelain Paving Installation
Q1: Can porcelain paving be laid on sand?
A1: No. Porcelain requires a full mortar bed or external adhesive.
Q2: Is outdoor porcelain paving frost-proof?
A2: Yes. Its low porosity and vitrified structure make it resistant to frost and weather.
Q3: What is the recommended joint spacing?
A3: Typically 3–5mm, depending on slab size.
Q4: Can DIY homeowners install porcelain paving?
A4: Small patios may be attempted, but professional installation ensures proper bonding and durability.